Do you love the taste of fresh, grown on the farm sweet corn? In the summer months, I often serve corn on the cob for dinner. Since corn is a favorite at my house, and the homegrown corn is only available for a short time, I have a corn freezing day in the summertime. This way we can enjoy the flavor of fresh corn year round in Baked Corn, casseroles, soups and more. There is nothing like pulling a pack of corn from the freezer in January and enjoying the fresh taste of summer even though it is the middle of winter. Homegrown corn is also so much tastier than anything you can buy in the freezer section or the canned aisle at the grocery store.
My husband’s parents grow lots of sweet corn, and we have “corn day” usually once a summer at their place. The other week my mom in law, sister in law and I along with our kiddos tackled the job of getting 60 dozen ears of sweet corn from the field to the freezer. I’m not going to lie to you; this is a time-consuming process but if you work at it with family, friends or even a neighbor it is much easier than tackling it on your own.
How To Freeze Sweet Corn
Getting the corn ready for the freezer can be a very sticky process, so we do all the following steps outdoors which means the kitchen stays clean.
The first step in getting corn into your freezer is finding a place to purchase the ears of corn. The area I live in has an abundant amount of roadside stands, and they are an excellent place to order the amount of sweet corn you will need for freezing. You may want to check about placing your order a few days in advance and then on your “corn day” just stop out, and your corn is picked and ready for you to take home. If you don’t have the option of a roadside stand, you may want to check at your local grocery store and possibly receive a discount when you purchase at least several dozen or more ears.
When selecting sweet corn to freeze you will want ears that are nicely filled out with mature kernels and brown silk peeking out of the top of the ear. The corn will then need to be husked. Husking simply means removing all the husks and placing the ears in containers or tubs. If you have kids, this is something that they enjoy helping to do. I was surprised how well my almost 5-year old daughter was at pulling the husks off. After the husks are removed, put them in large containers, bags or boxes to be trashed or turned into compost.
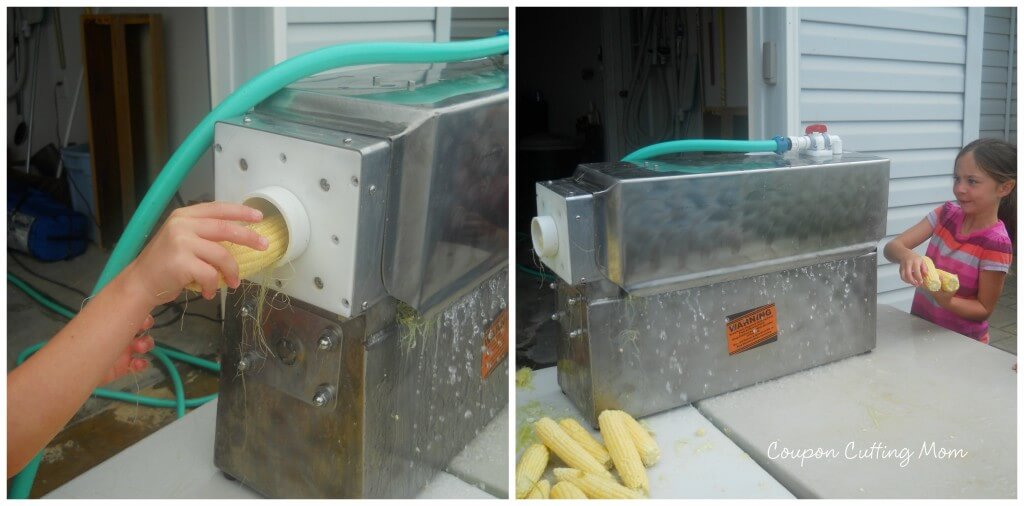
Next you will want to silk the husked ears. This means cleaning all the little hairs off of each ear, so you don’t find corn hair in the finished product. This Corn Brush makes silking easy. Or in our case we were able to rent a Corn Silker for the day. A Corn Silker is a machine with lots of brushes, and the corn is feed in one end and comes out the other end totally silk free. A garden hose is hooked up to the machine and between the brushes and the water from the hose, this machine does an amazing job of removing all the silk in way, way less time than it would take to silk the corn by hand. Feeding the corn through the silker was another job that the kids enjoyed helping to do.
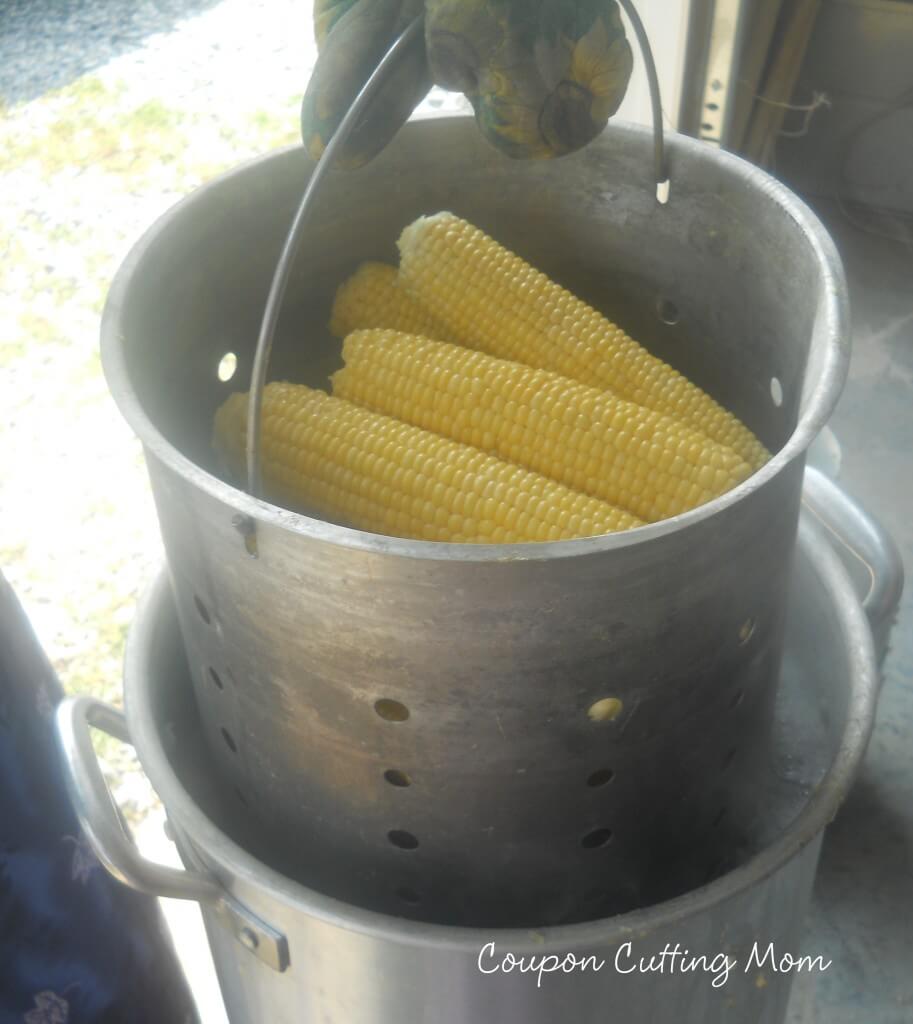
Now the corn is ready to be blanched. Blanching is done by bringing water to a boil and then placing the ears of corn in the water and then bringing the water back to a rolling boil for about 2 minutes. You can do this step in a large kettle on your stovetop, or if you prefer to do it outdoors, a single burner patio stove and a turkey fryer pot make this step easy. The nice thing about using the turkey fryer pot is that you can do a much larger amount of corn at a time than you can do on a kettle on the stovetop. Also, the fryer pot comes with a basket that can easily be filled with corn and then just set in the pot of boiling water. If you are doing the stovetop method I recommend a tongs to put the corn in and out of the boiling water. Regardless of which method you use, fill your pot or kettle about 3/4 full of water and when it is boiling you want to fill it full of corn making sure most of the corn is submerged in the water. When one batch of corn is taken out, bring the water back to a boil again before adding more corn.
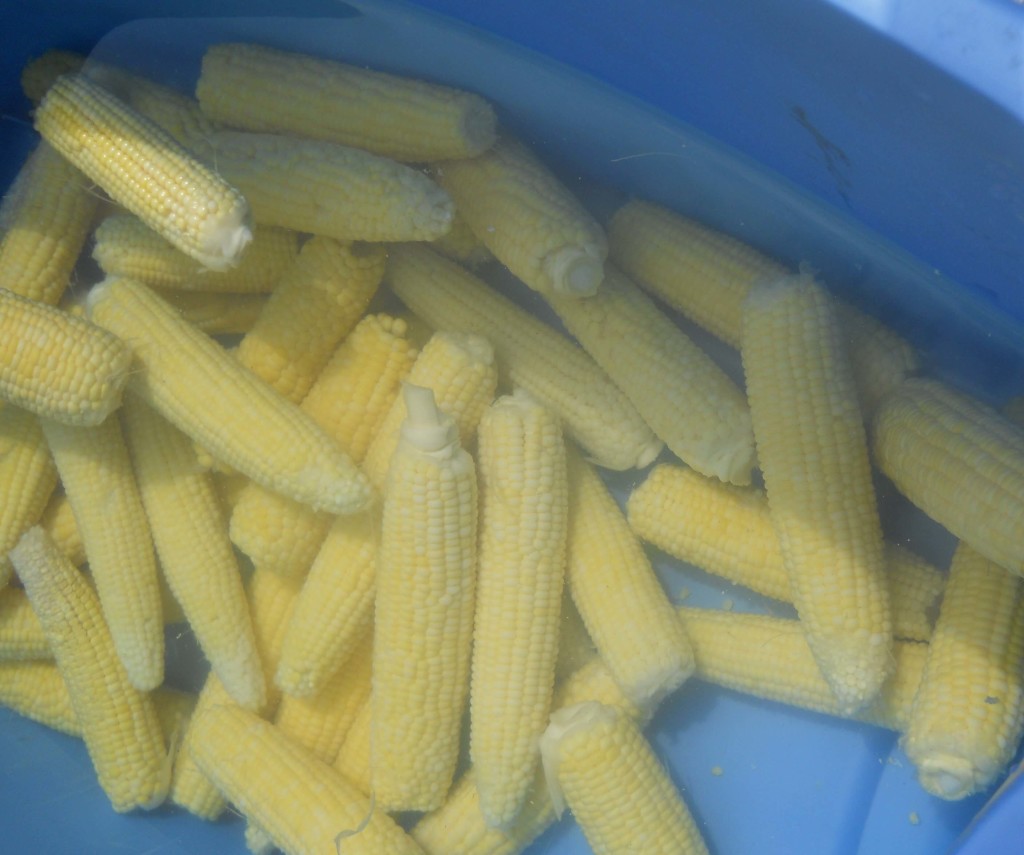
Once the corn is removed from the boiling water, it needs to be cooled down as quickly as possible to stop the cooking process. A double bowl kitchen sink works perfectly if you are doing this indoors. Just use one side of the sink to cool the hot ears as they are coming out of the boiling water and then move the lukewarm ears to the other side of the sink to finish cooling. Since everything related to our corn is done outdoors, we use large Rubbermaid containers for our cooling process. Ice in the water works great to cool the corn faster. The water will need to be frequently changed as the hot corn warms the water quickly.
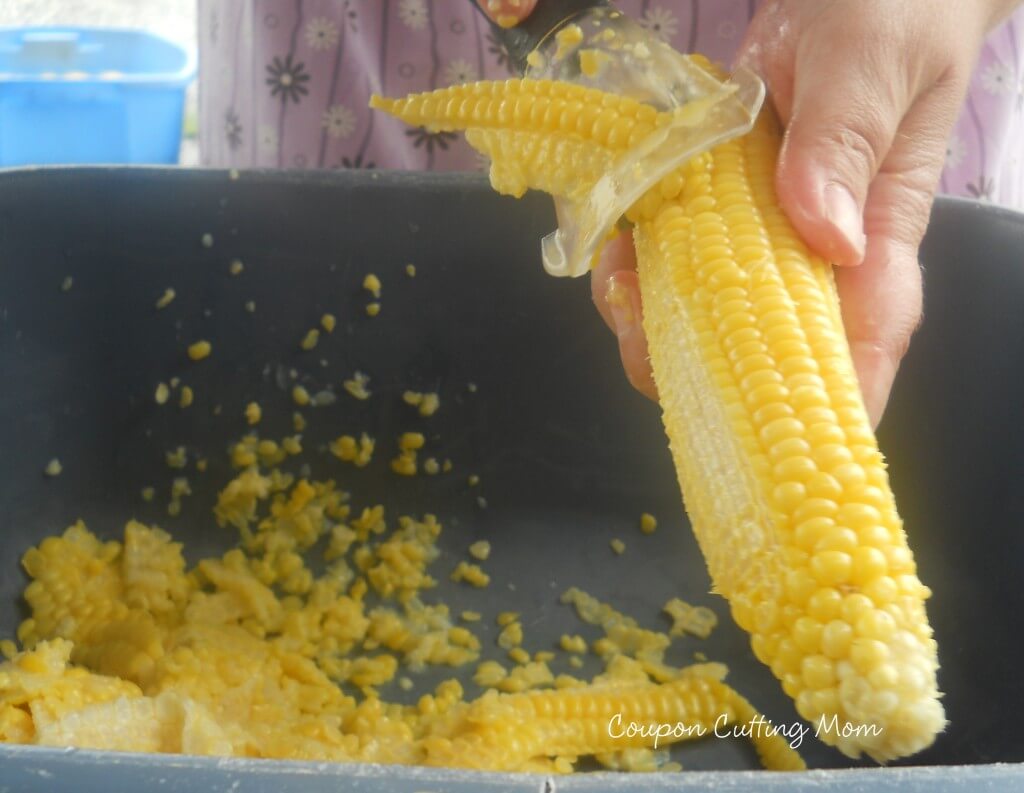
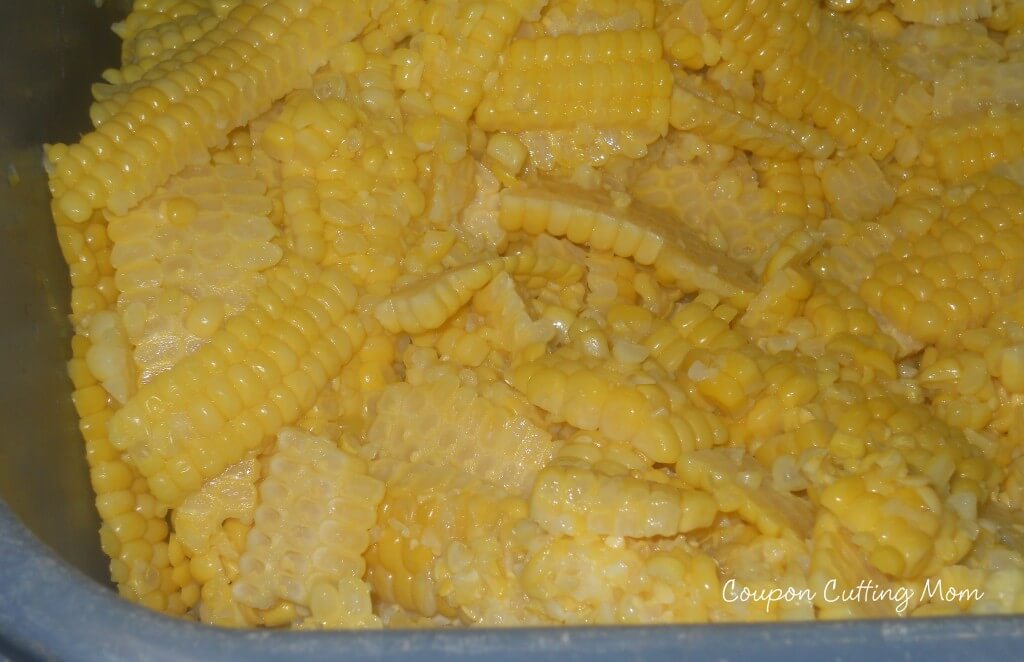
When the ears are cooled, they can be removed from the water. Now it is time to cut the corn off the cob. This can be done with a sharp knife or a corn cutter. The knife method doesn’t work very well for me as I find it hard to cut quickly without getting a lot of cob cut off with the corn. I have found this Pampered Chef Corn Kernel Cutter to be the perfect tool for cutting corn off the cob. This corn cutter is also another cutting tool and is perfect for creaming corn. We cut the corn into dishpans and then it is ready to be bagged and placed in the freezer.
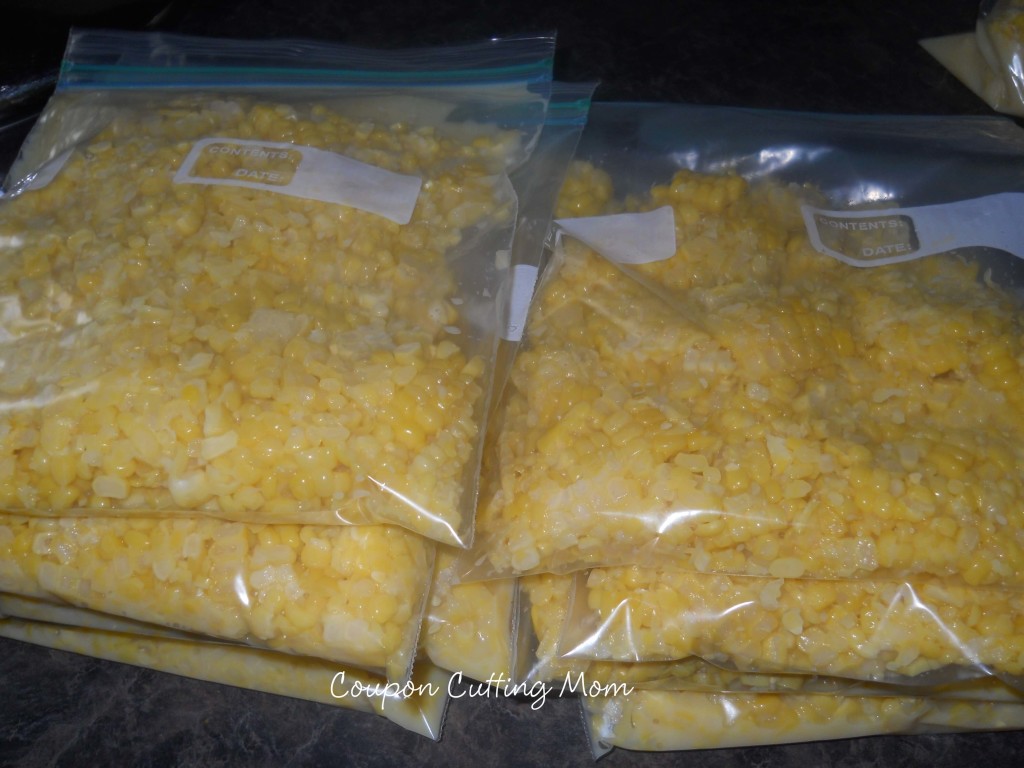
Use quart or pint Ziploc freezer bags and add the desired amount of corn. I find that 2 cups per bag is the perfect amount for our family. Make sure to remove any excess air and flatten the bags out so they can be stored easily in the freezer. We figure that one dozen of corn equals 2 – 3 cups cut corn. This number will vary slightly depending on the ear and kernel size as well as if you are doing whole kernel or creamed corn.
Whew! Now you are finished, and all that is left to do is compost or trash the cobs and clean up the sticky mess and dream about the corn you will be enjoying during the winter months.
I would love to hear about your corn experience. Have you ever gotten a large batch of sweet corn to put up in the freezer?



We use a pillow case to put the corn in to cook it, if you dont have a strainer thing for the cooker. when its done, just pull it out and put it in cold water. Redneck way 🙂 Looks great. I cant get used to the pampered chef corn cutter tho…not sure why.
Kay, the pillowcase is a great idea. Thanks for sharing. This is the 1st year I liked the Papmpered Chef tool before I just couldn’t get it but this year I loved it.